Testing the system
When everything is set up, the connection between various system can be checked. First, start the following programs:
Timing manager (always start this one first)
Testing the timing installation
Checking timing connectivity
Before checking functionality, ensure the connections between the software packages are up. Each program has a status bar at the bottom showing the connection status. Red meaning disconnected, green is connected. Some connections may be disconnected, whereas others are required for the functionality. The image below shows the required connections:
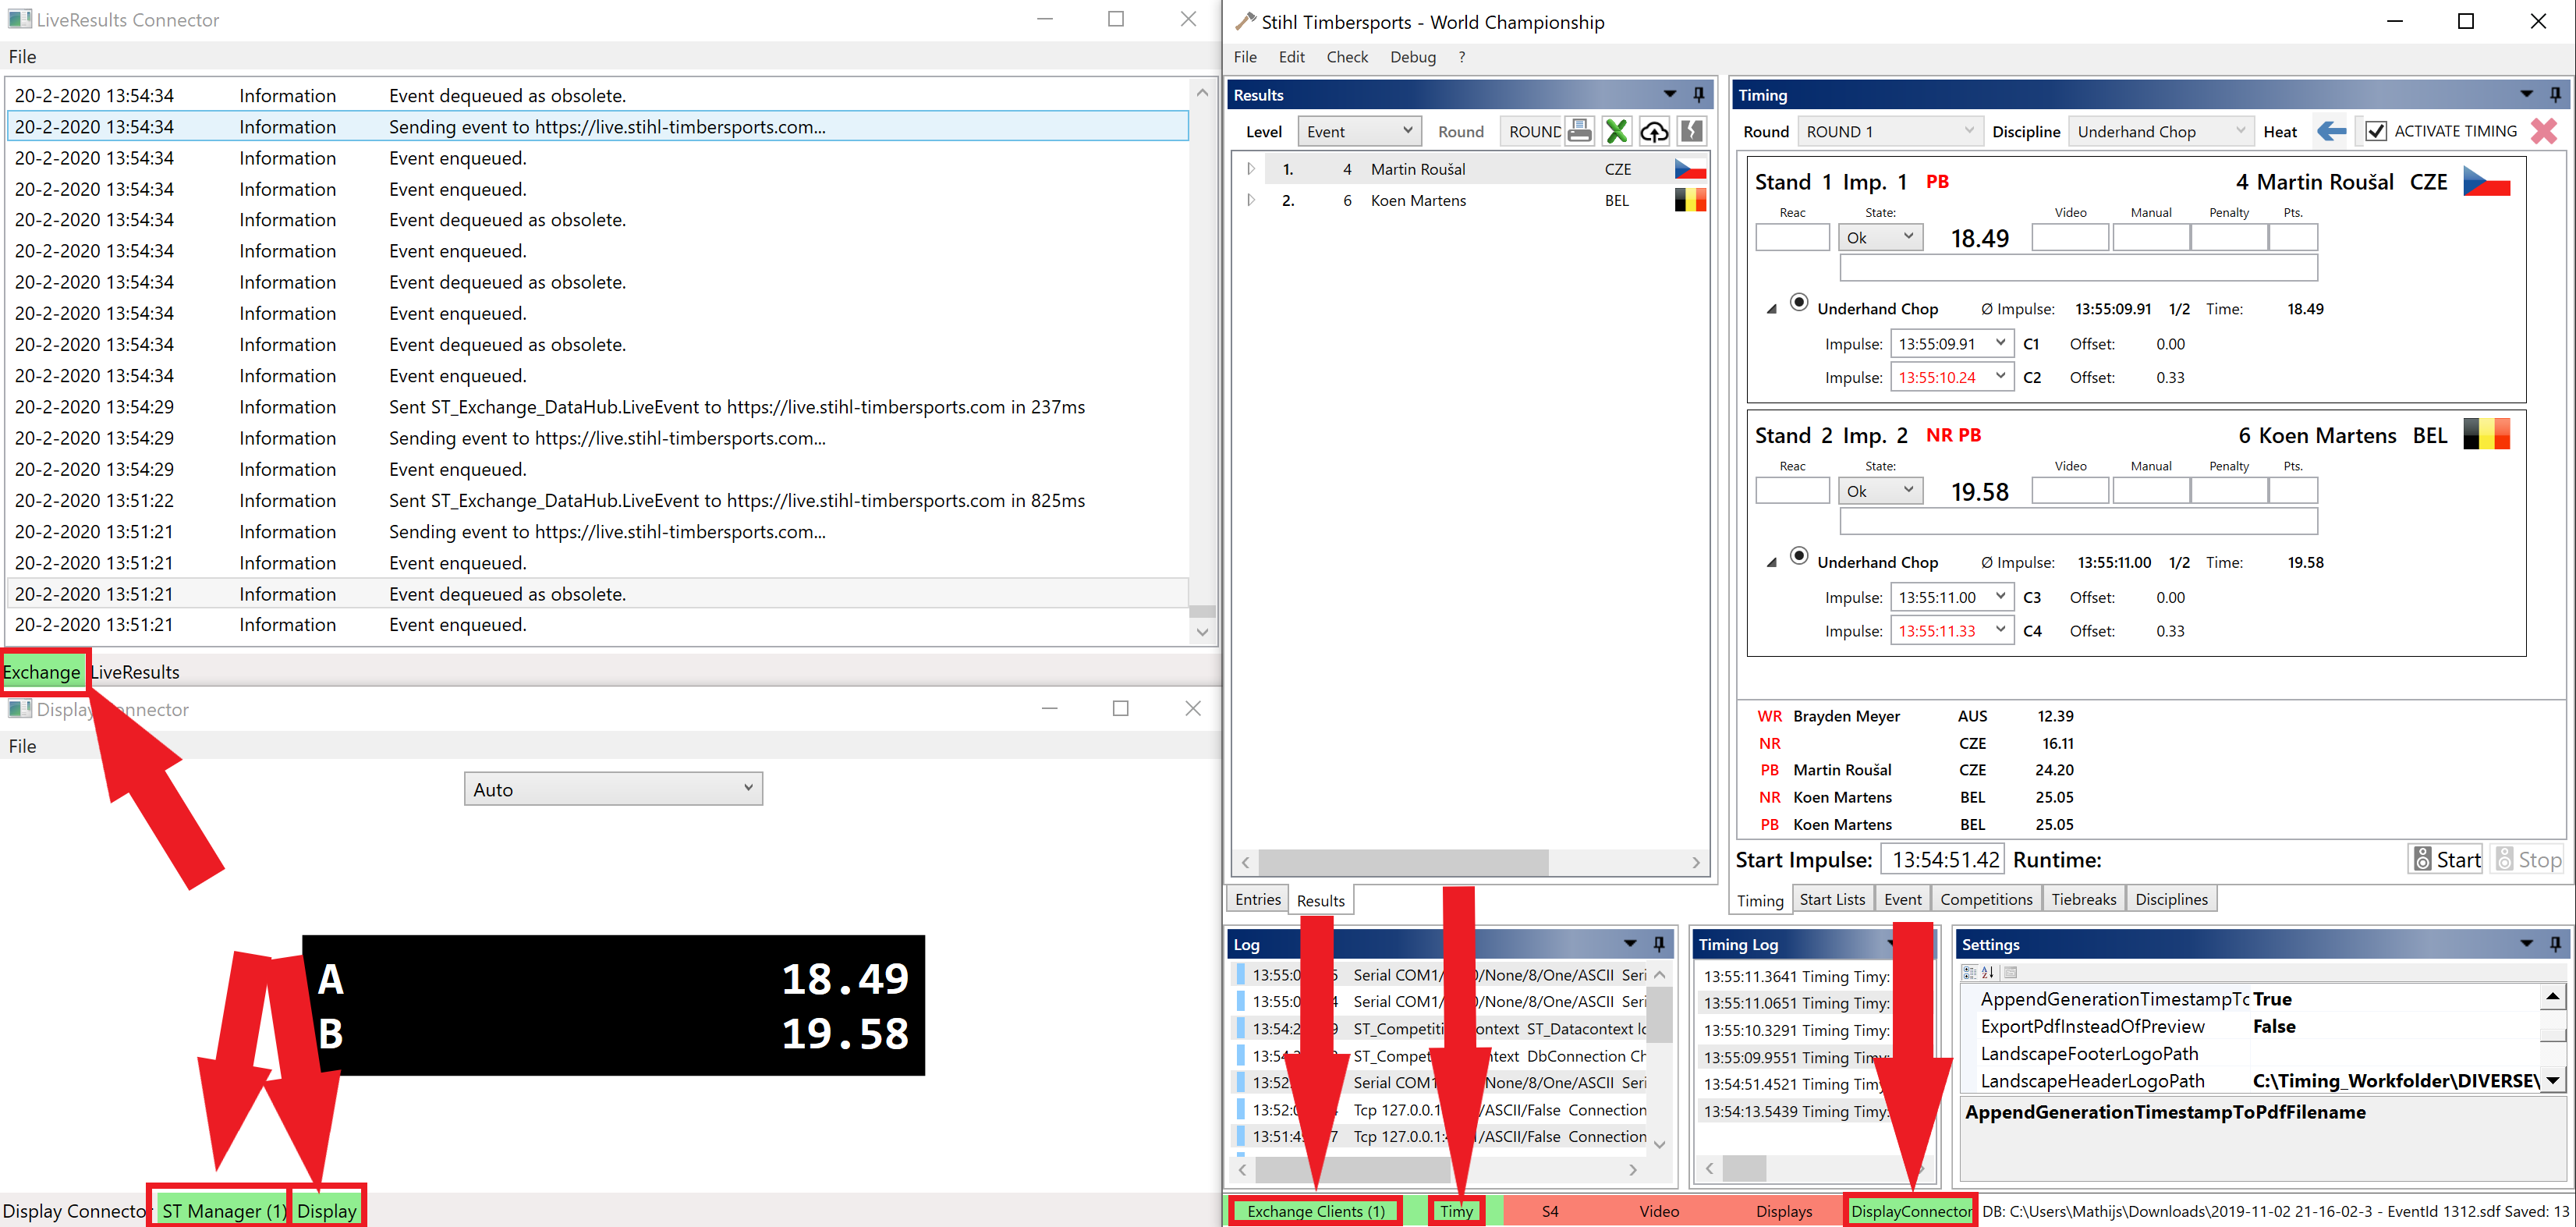
Starting with the Timing manager, we have the following required connections:
Exchange clients: this shows if the internal server is up and running. This internal server is the base of communication with other software. If it is disconnected, this means another instance of the timing manager is already running on this PC. It is not allowed to have more then one instance running in the same network, so also not on the same PC. The number between brackets is the number of clients connected. Should be at least 1.
Timy: this is the connection to the Timing device. Should always be green, otherwise the complete timing system is stops working. If disconnected, first try to reconnect (double click on Timy disables the connection, double clicking again reconnects). Otherwise, check connectivity to the Timing device.
DisplayConnector: This shows the connection state to the Display connector. If disabled, Displays won’t be working. If not connected, check if the Display connector is running on the local PC.
These connections are optional:
S4: Connection to an older timing device. NOT NEEDED, should be disabled
Video: Only required when a STS Videotiming system is used (i.e. not for Coaches Eye).
Displays: Older display driver. SHOULD BE DISABLED as this can interfere with the Display connector.
Continuing with the Liveresults connector:
Exchange: this if the connection with the Timing manager is operational. This is required to receive timing data. If disconnected: check if the Timing manager is running and if Exchange clients is green.
To check the connection to the Live results server, check the logs.
The Display connector requires the following:
ST Manager: Displays the internal server status. Should be green, if red, check if there are multiple instances running. Only one instance of the Display connector can be running in the network / on the PC. The number between brackets shows the number of connected Timing managers. Should be exactly 1. If 0: the Timing manager is not connected, if greater than 1: there are multiple Timing managers running which is not allowed.
Display: indicates the connection status to the Display Moxa Nport. If red, the Displays won’t work. First try to reconnect (right click on Display -> Connect). Otherwise, check connectivity to the Display Moxa Nport.
Testing timing functionality
Check if the following functionality works:
Start a heat:
The sound should be send over the outputs on the Start box. It shouldn’t be audible over the laptop speakers. Check the USB connection and if the sound device is set to Radial pro if not working.
At the Go, the Timing device should trigger. If enabled in the settings, the Timing device will beep at this trigger. On the Timing device display, some indication will be visible.
In the Timing manager software, the Start impulse textbox should fill:
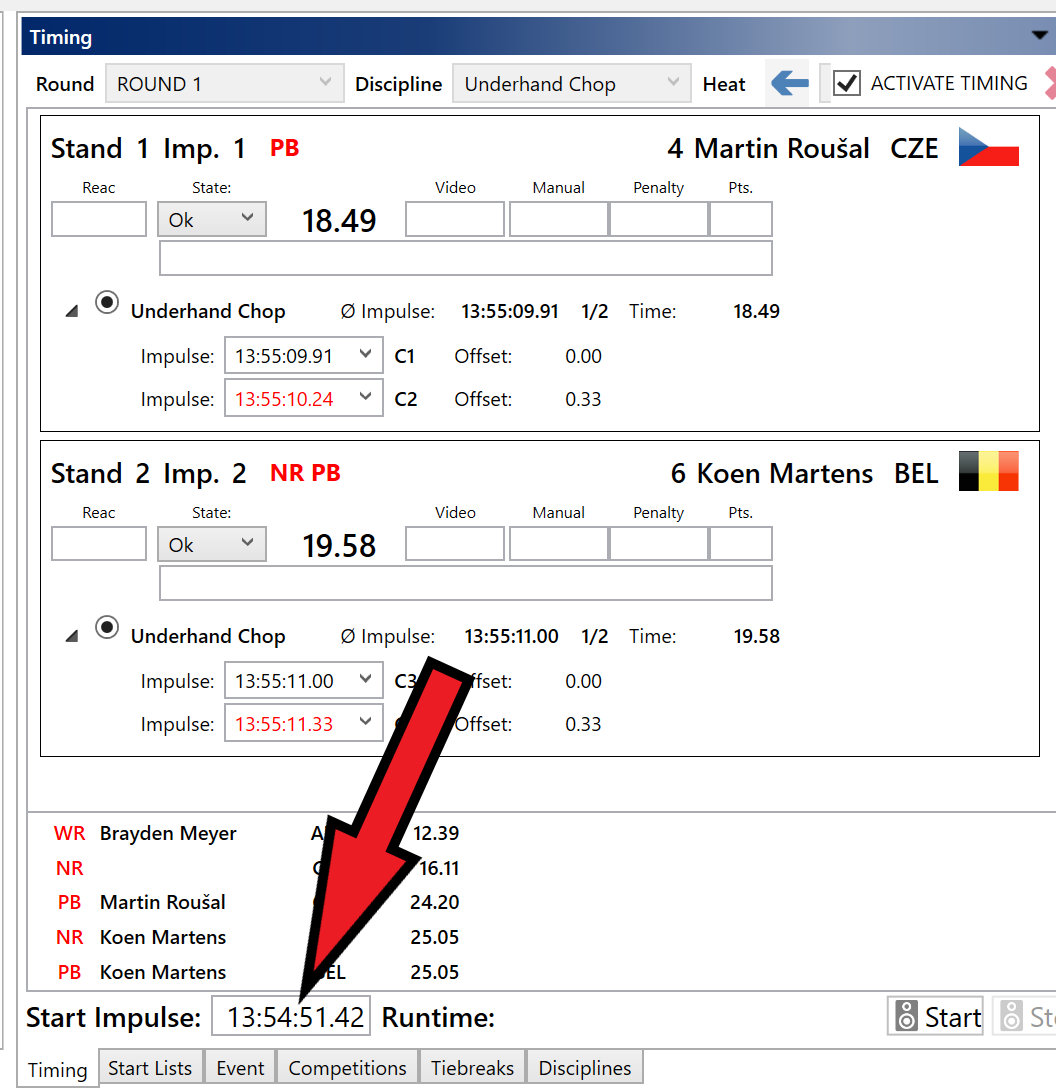
If the Start impulse field is automatically filled, this means the connections to the Start box and Timing device are working.
Stop a heat:
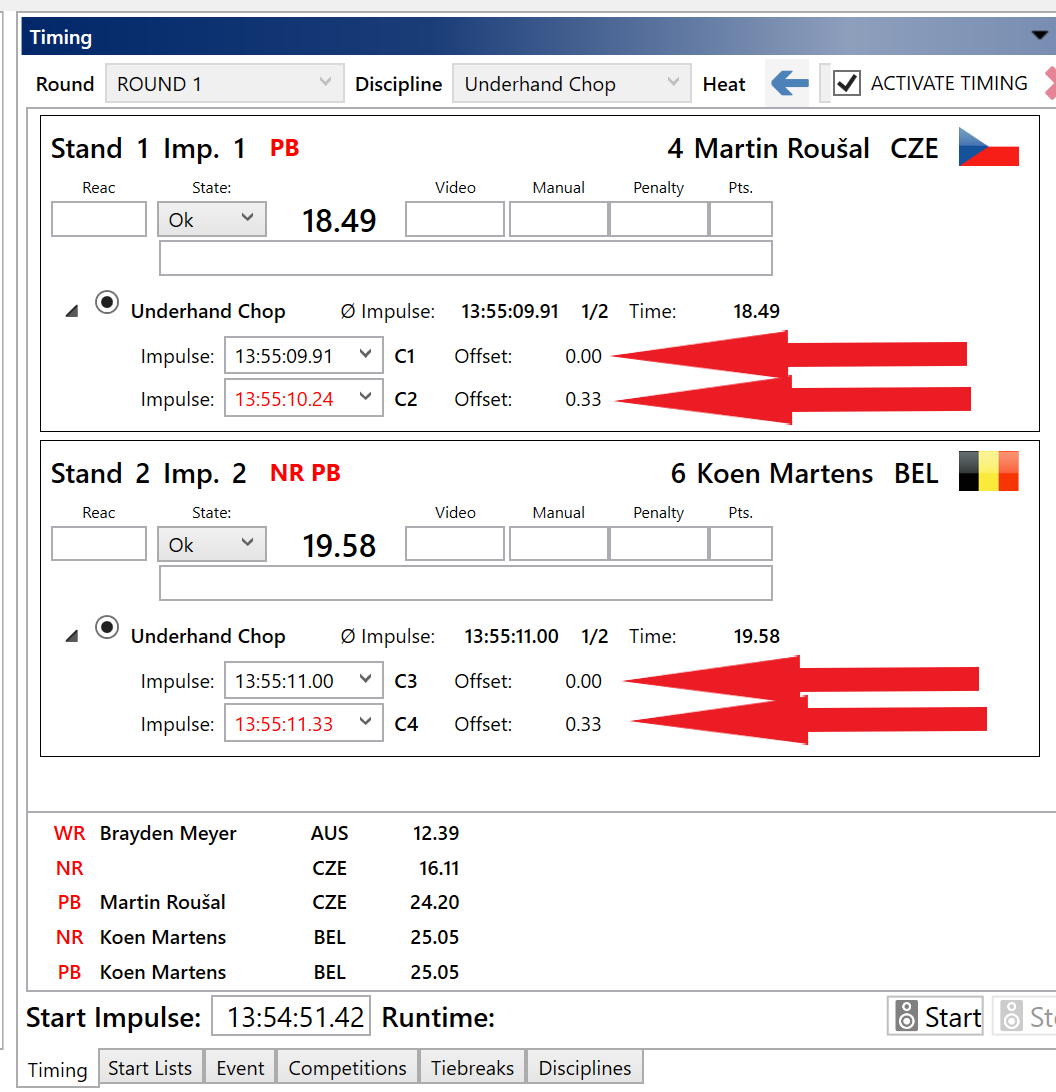
Use the Timing buttons to stop the heat. First for stand 1, then stand 2. Check if each button stops the right stand!
When pressing the buttons, the impulses fill the boxes as shown below:
Debugging impulses
It might happen that the Timing device triggers on the impulses, and sends them to the software correctly, but the system isn’t working as expected. In that case, the Timing log gives extra insight.
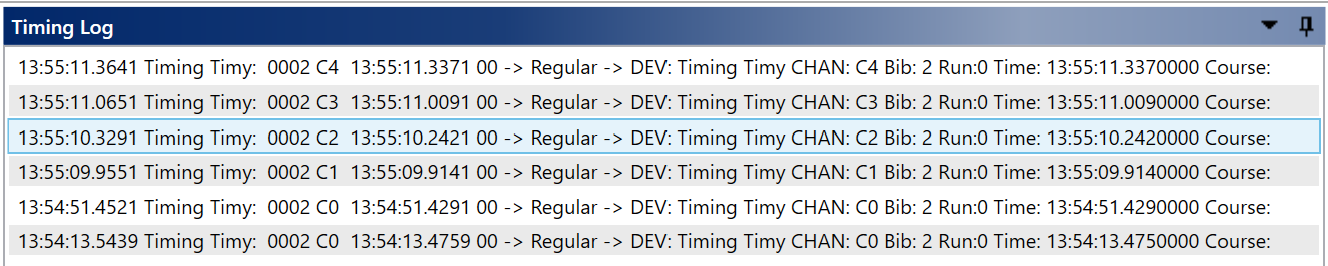
In this log, all impulses are recorded. In the example above, we see 6 impulses. The bottom 2 are impulses on channel C0, which is reserved for the start. After this channel identifier, we see the time which is recorded by the timing device.
If timing impulses are recorded, but are not being mapped to the right stand, check the Standchannel mapping.
Check displays
Check if the displays start at the go and stop at the end of the heat. Check if the right display on stage displays the right stand.
Debugging displays
If the displays don’t work, first check if the Display connector receives the right times. The software displays the data being send to the displays in the center of its screen. If the Display connector doesn’t receive and display the times, close the Display connector and Timing manager and restart them.
If it does display the right times, but the stands are swapped, use the Display connector settings to map the correct display to the right stand. (See Setting up the displays)
If the displays do not show anything at all and the Display connection in Display connector is green, check the connection from the Timing box to the displays. It might help to check cables, and try to switch the banana plugs on the Timing box.
Testing the graphics installation
Checking graphics connectivity
When the Graphics client is started, it shows the connection status in the status bar:
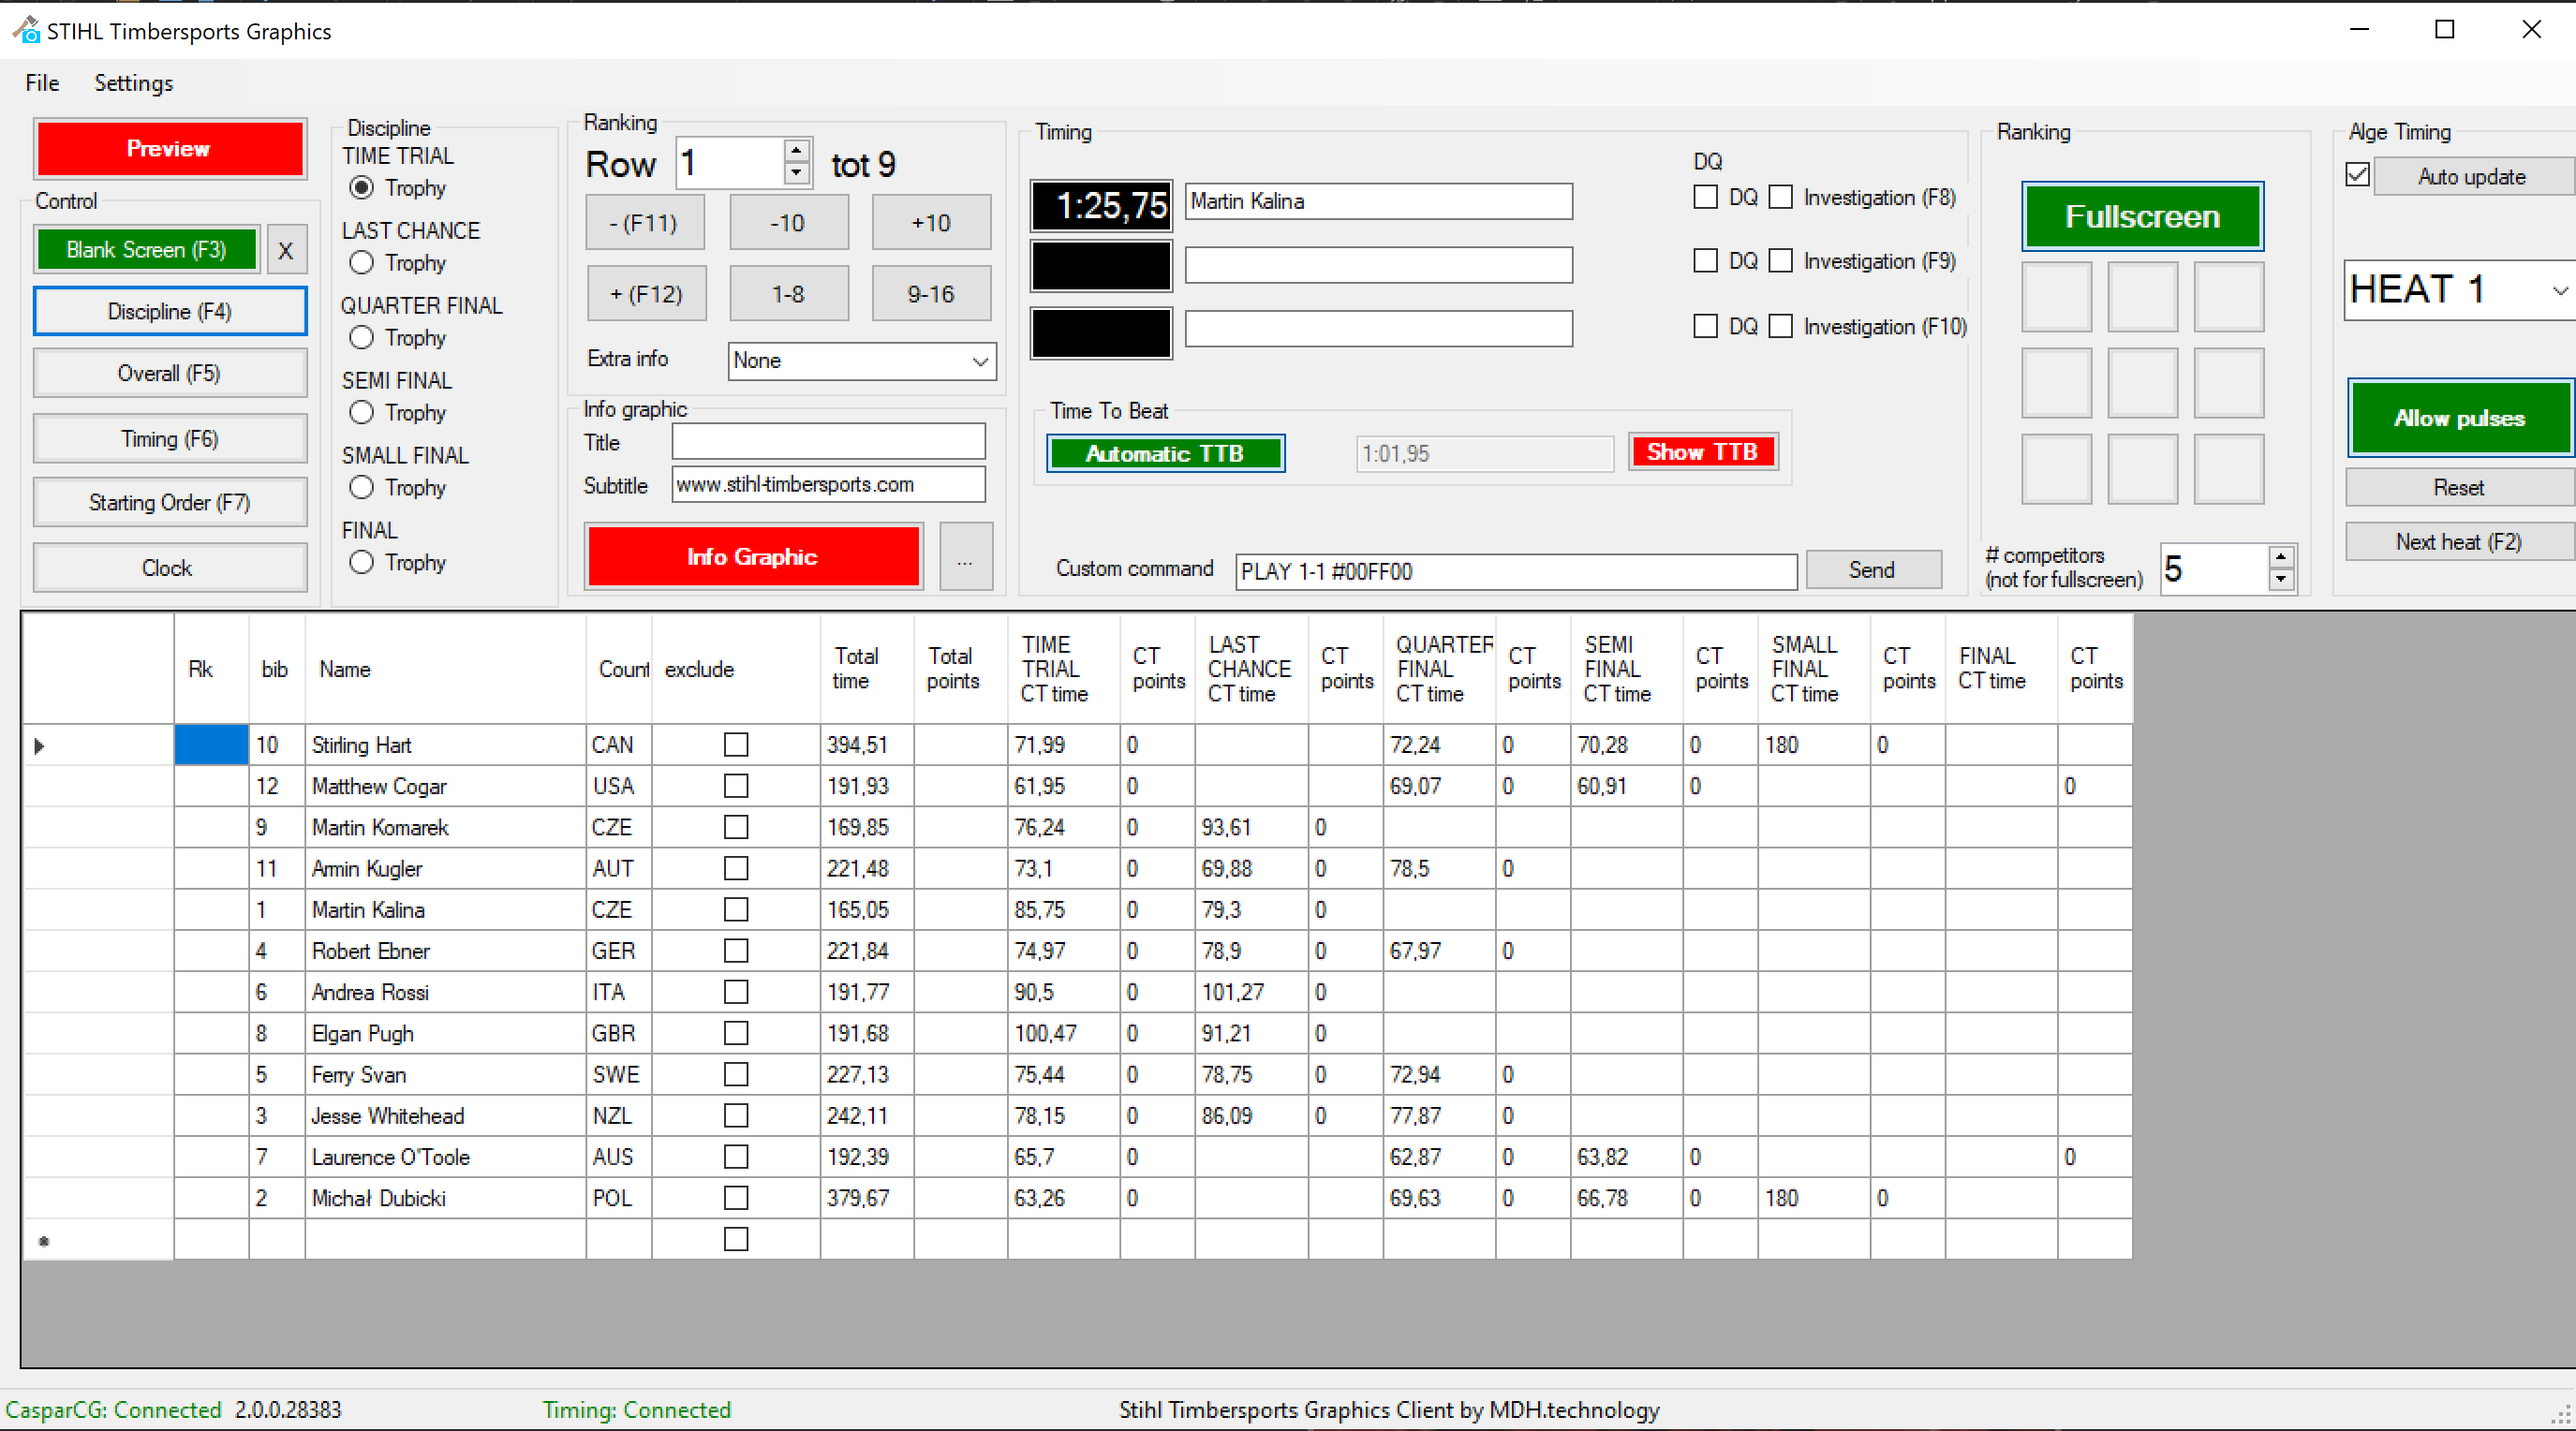
The system should connect to the CasparCG Server and the Timing device.
Testing graphics functionality
To test the Graphics client, first open the same .sdf database file as the Timing manager is using.
Check the starting orders, results, infographics etc.
Prepare a timing graphics, select the same heat as in the Timing manager
Start the heat, check if the graphic times are running
Stop the heat, check if the times / stands match between graphics and manager
Enter a videotime in Timing manager for both stands, press enter
Check if the graphics update to the video time