Hardware installation
Setting up the computers
The first step is to setup the Timing computer and the Graphics server. Connect the power supply, keyboard, mouse and displays. Make sure to run Windows Update a week before the competition to get the latest updates.
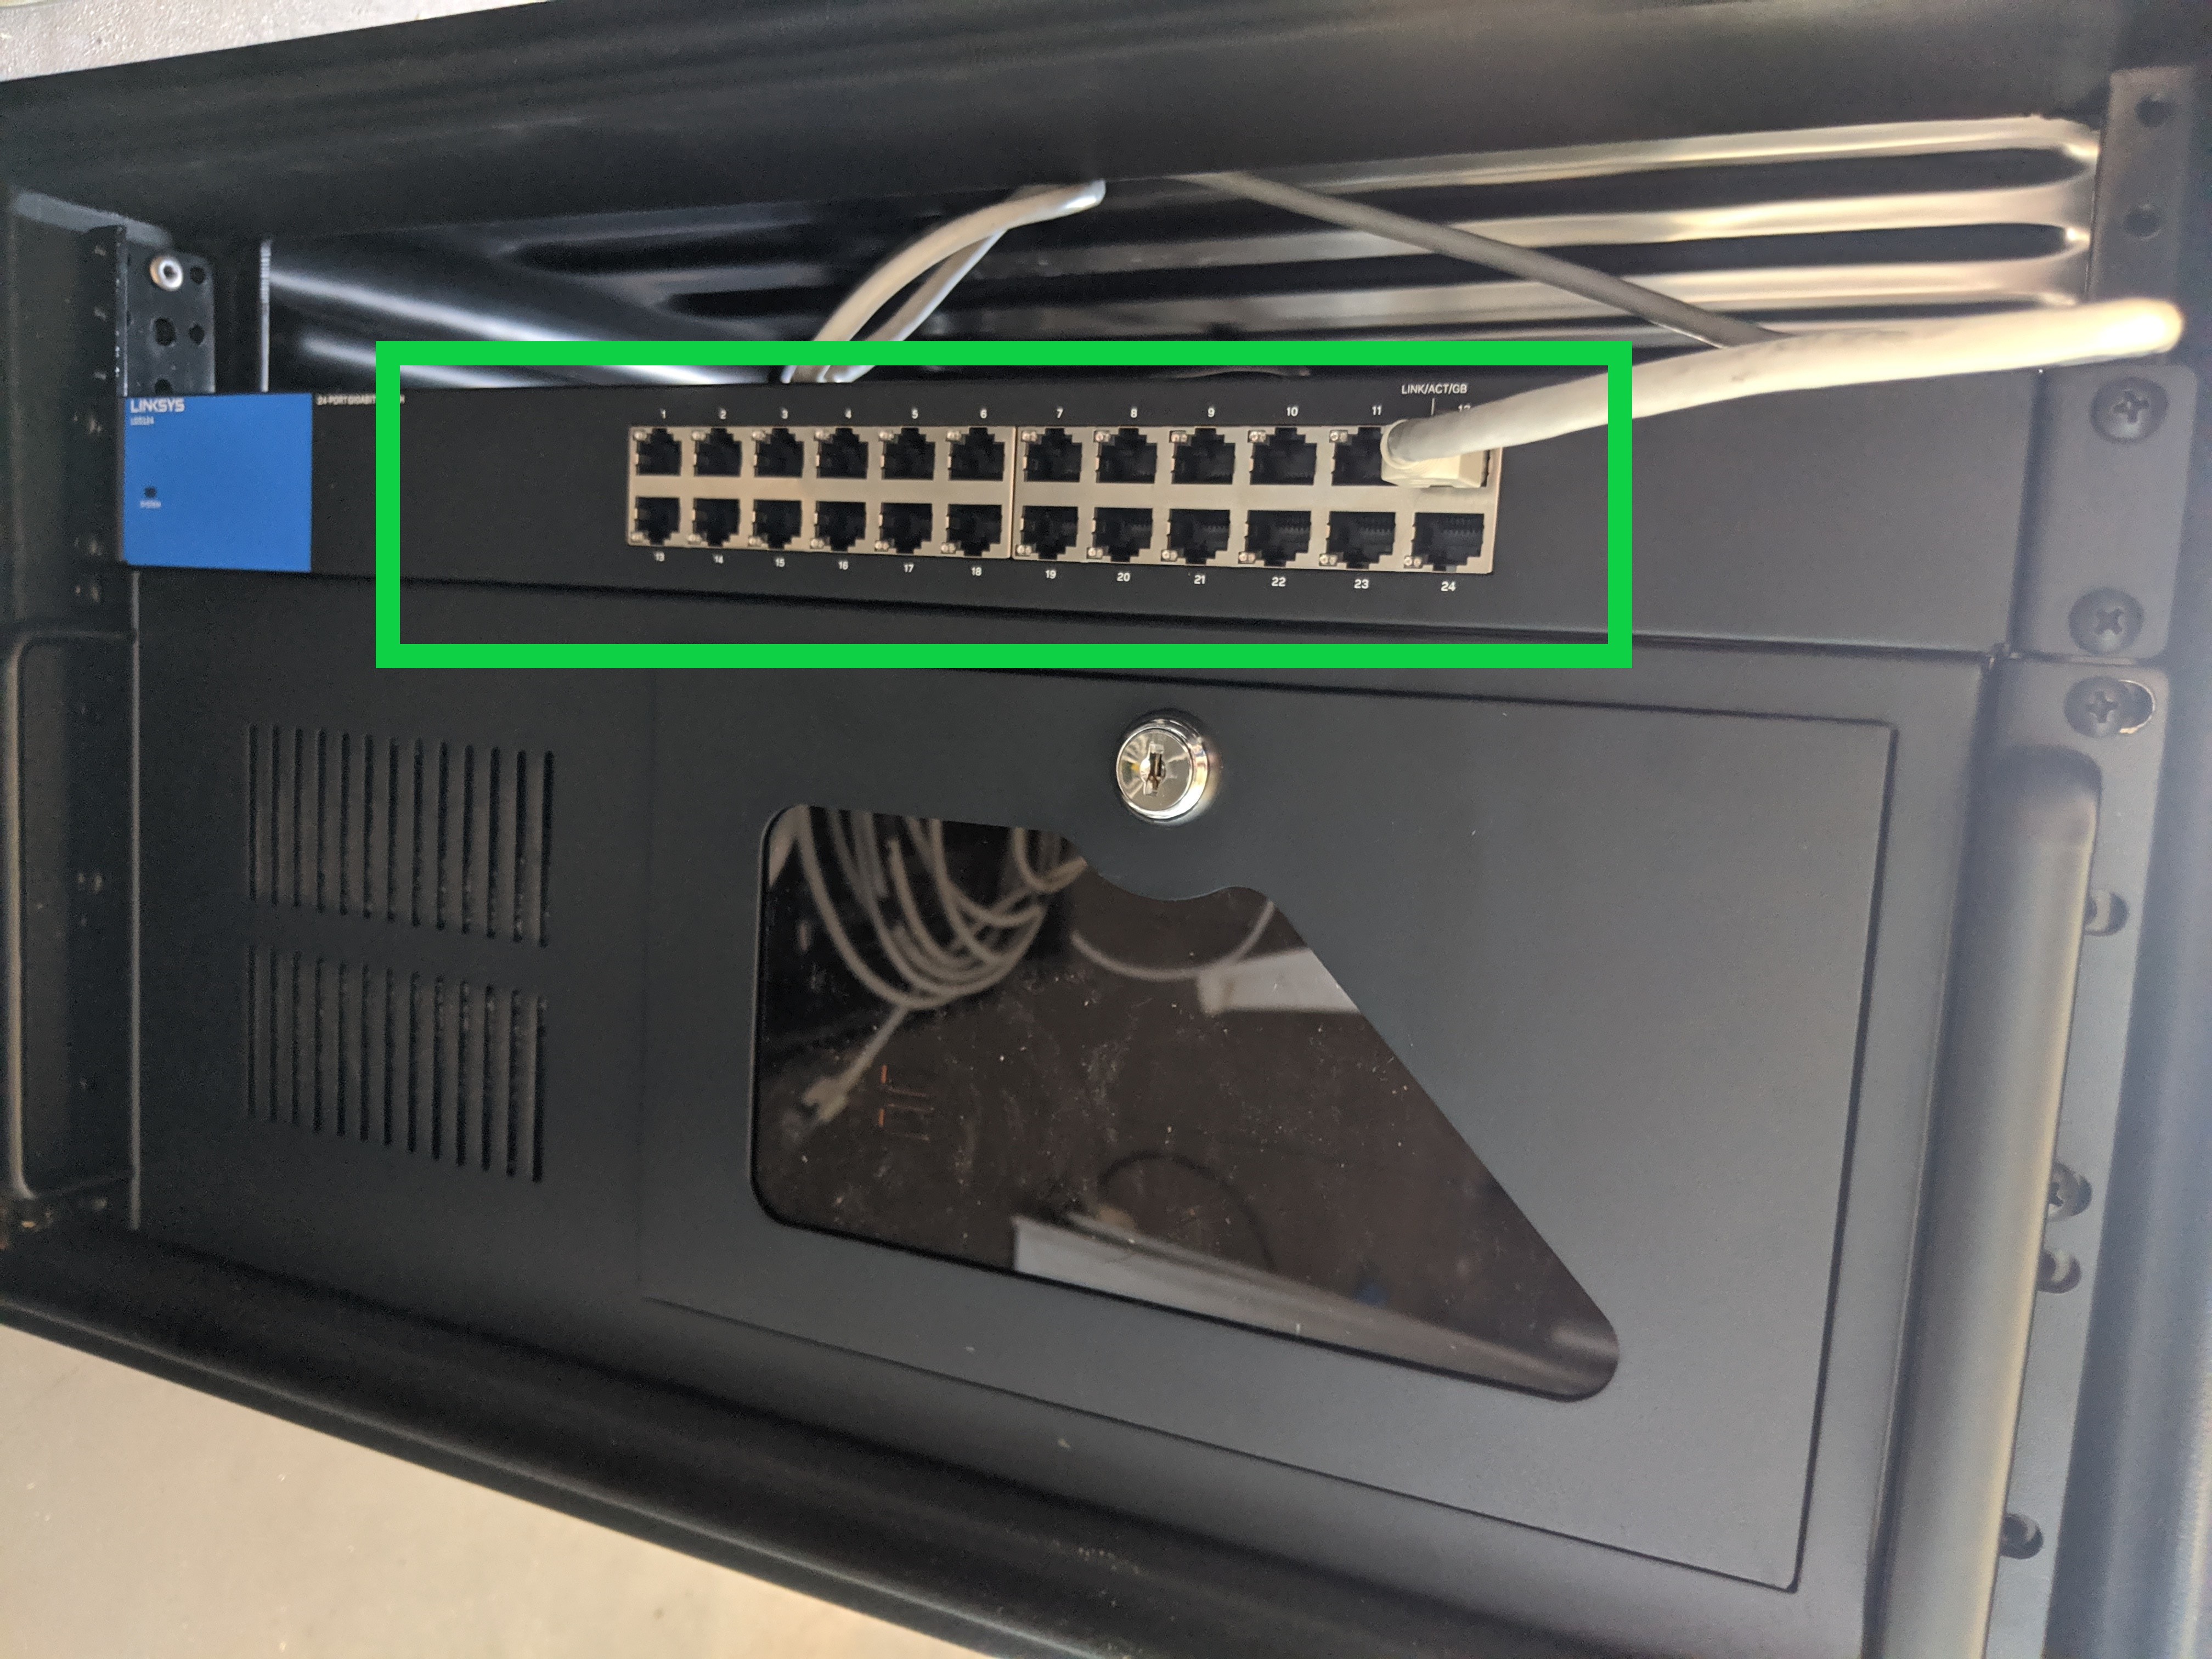
Connect both the Timing computer and the Graphics server to the network switch in the graphics flightcase using ethernet cables.
Connecting the timing device
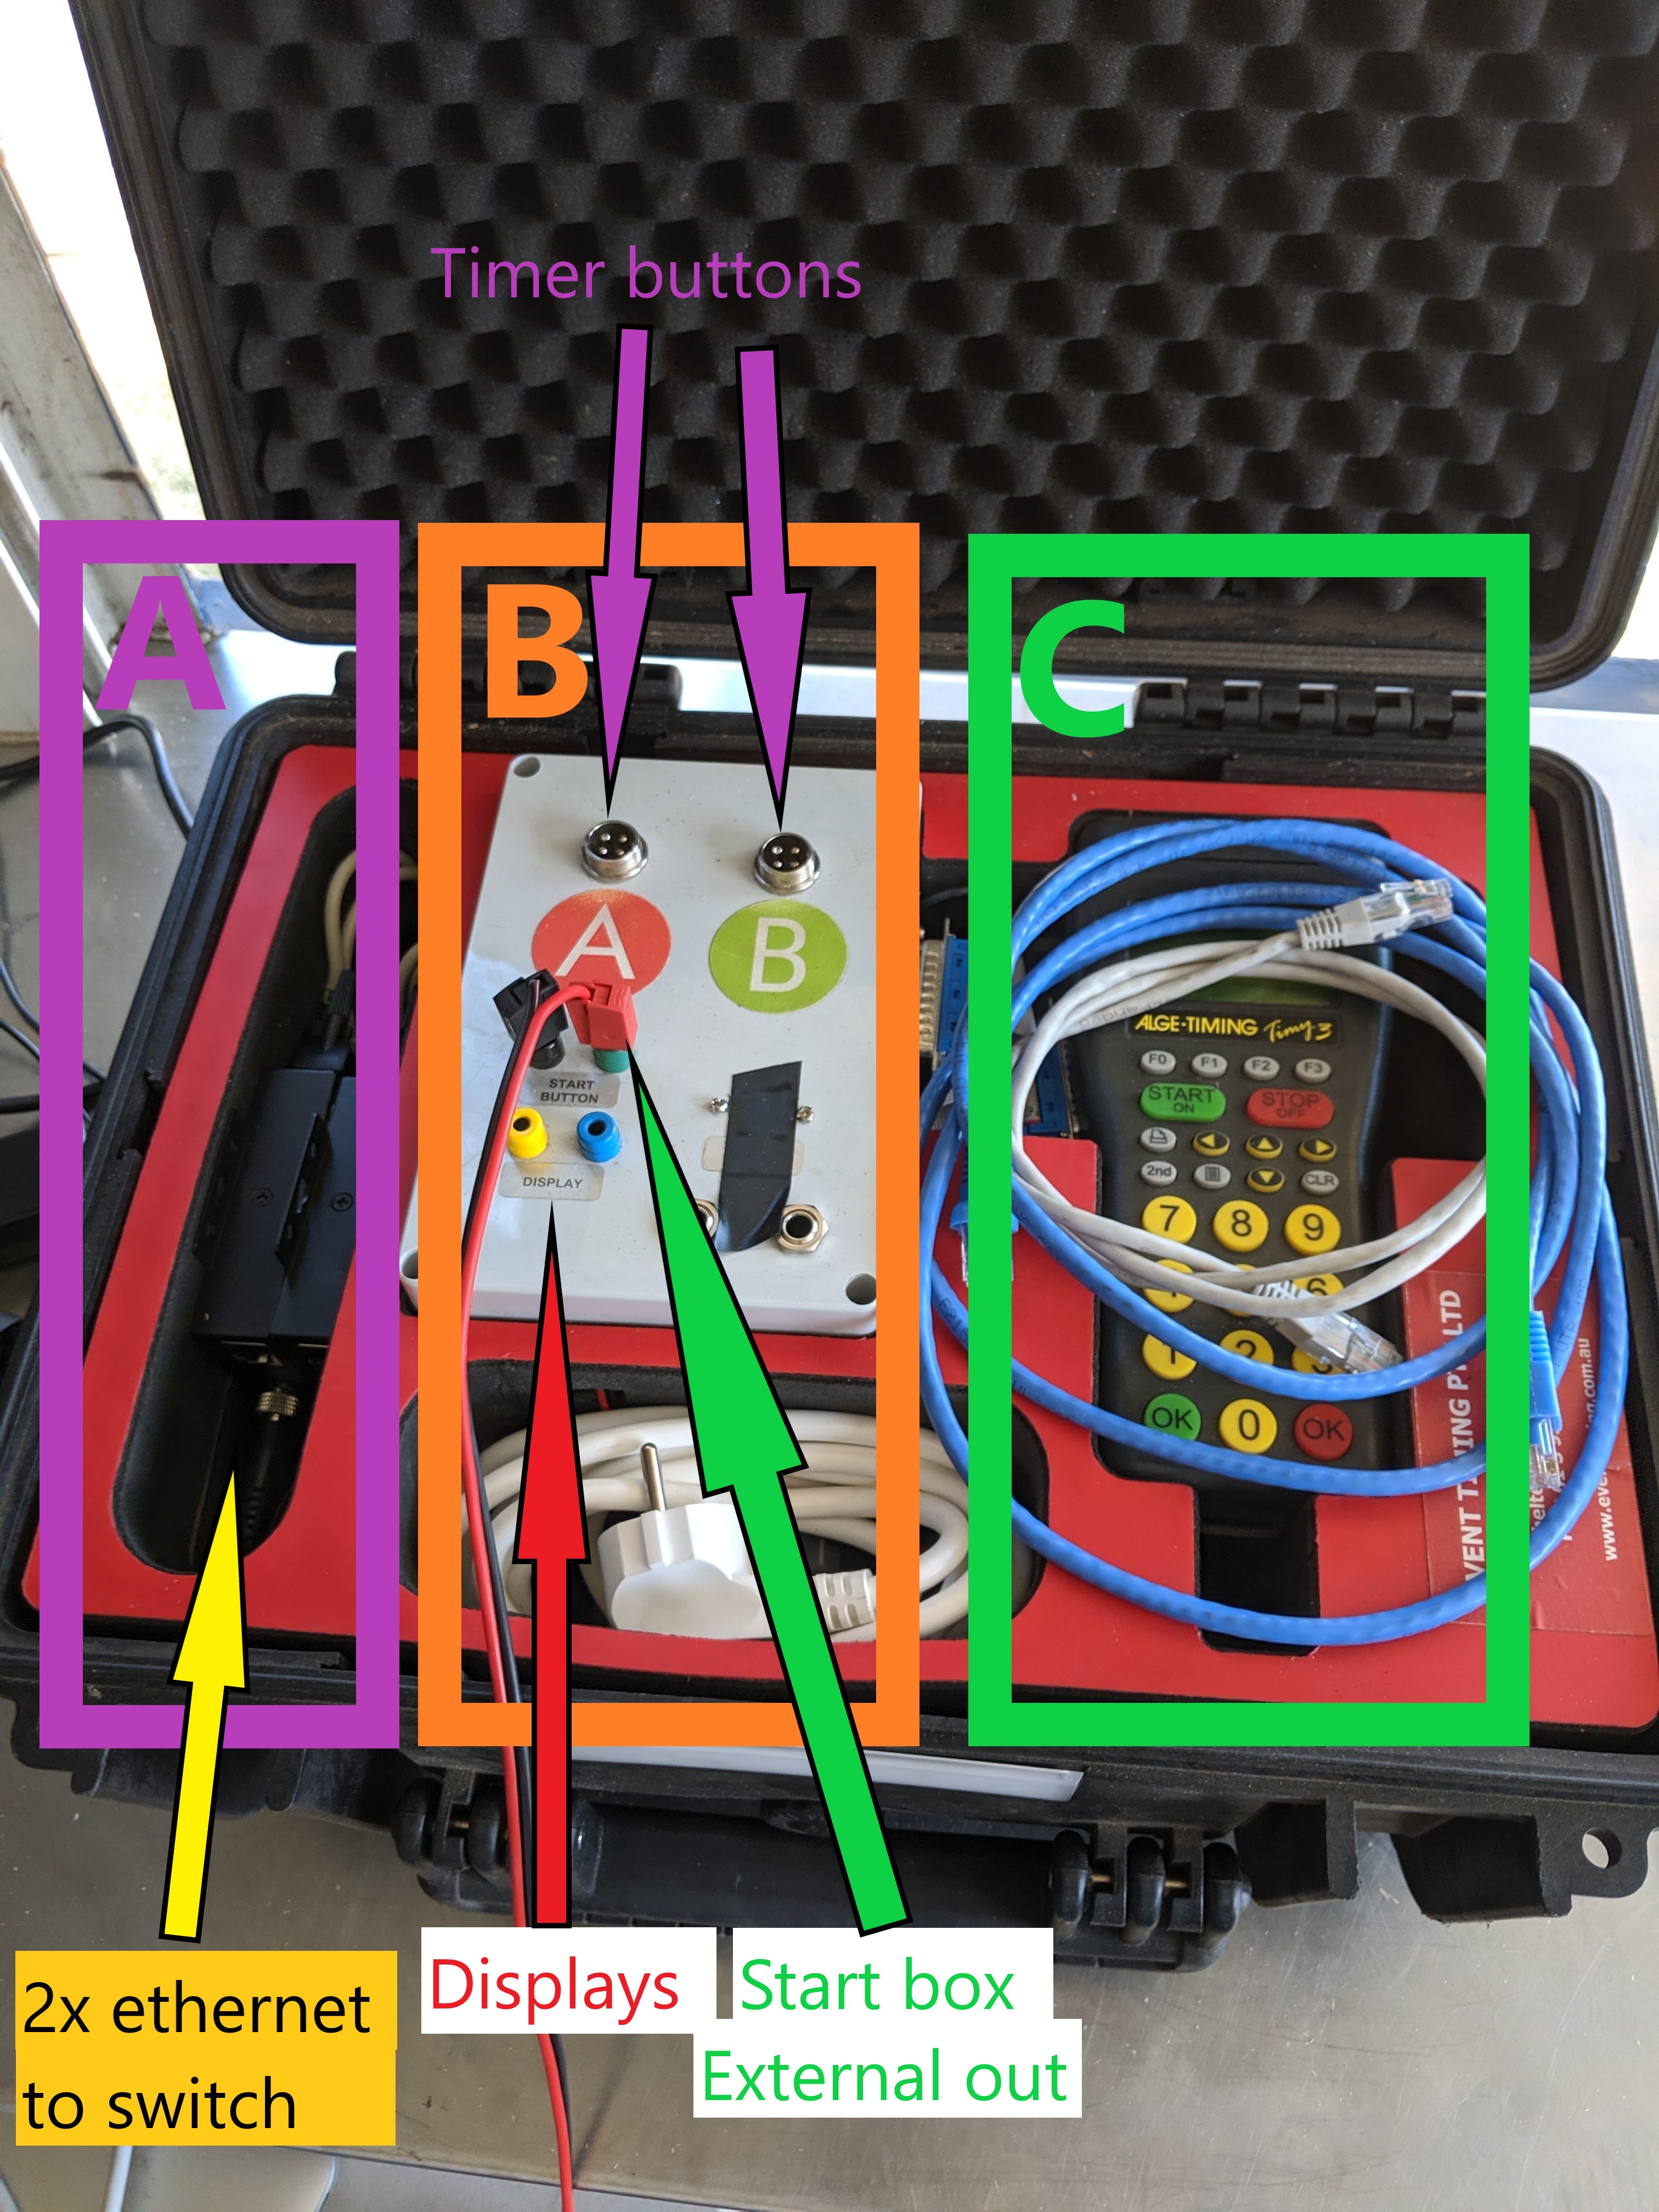
The Timing device and the Displays are connected to the computers over an ethernet connection. The 2 Moxa Nport network servers are located in the timing box in compartment A, see picture below.
Connect every Moxa Nport using an ethernet cable to the network switch in the graphics flightcase. Of course, the timing box should be connected to mains power using the supplied cable. Make sure the Alge Timy3 device is powered on.
Displays
Connect the displays using the banana plugs to the Display port on the timing box.
Timing buttons
Connect the timing buttons the the GX12-4 connectors labeled A and B.
Connecting the start box
The start box should be connected to the mains power supply first using the provided Neutrik Powercon connector. Then, a USB cable is connected from the USB TIMING SOFTWARE port to the computer running the Timing manager software.
To prevent the CB radios from interfering with the sound system, the box should be completely wrapped in Aluminium foil. Wrap the foil around a couple of times, making sure the whole surface of the box is covered and the foil overlaps. Place the box close to the timing laptop and as far away from radios as possible. Make sure excess usb cable is contained in the aluminium foil. If the plopping is still present, it might help to connect the USB cable directly to the USB sound card by removing the front panel of the start box.
The ALGE OUTPUT FLASH LIGHT ports are connected to the Alge Flash XL devices
Next, the HEADPHONE OUT and START CADENCE outputs can be connected. These ports output the starting cadence sound generated by the internal sound card. Just one of the connectors has to be connected.
The EXTERNAL OUT (NO) port is connected to the Timing device and provides an impulse at the right moment in the starting cadence. Use the supplied cable to connect this port to the timing box Start button connectors.
